Easy Colouring Techniques
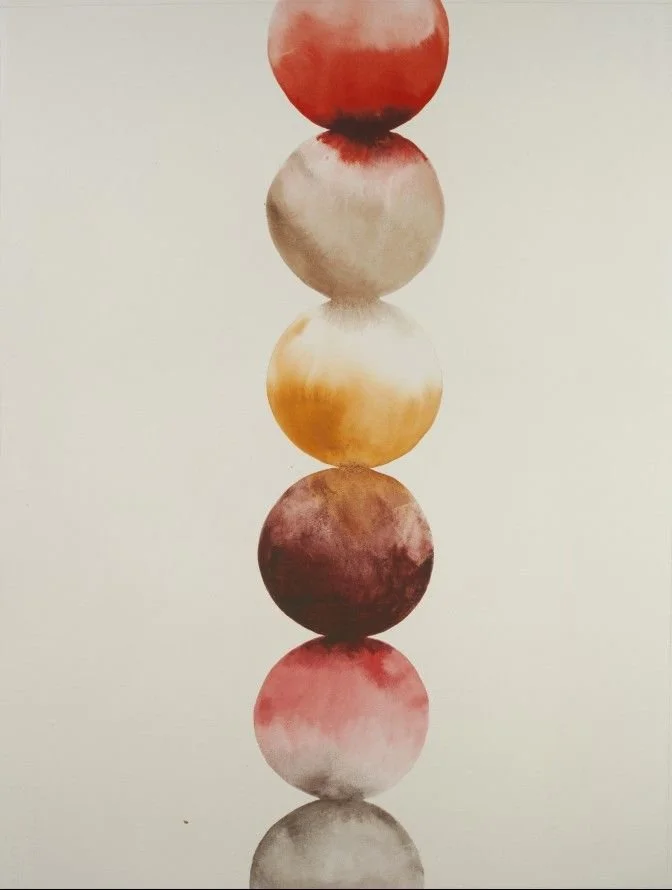
[ Simple Ways to Make Your Watercolouring Look Better ]
If you are just starting your colour journey and want your pages to look a little more polished or realistic, I am right here with you. With a few easy techniques and a splash of practice, you can add depth, texture and interest to your work without overcomplicating things.:
[ Shading ]
Shading is what gives your painting depth and makes it feel three-dimensional. It is all about showing where the light touches and where the shadows naturally fall.
Try this: Keep areas you want bright almost untouched by paint, letting the white of the paper shine through. For darker areas, layer up with gentle washes rather than loading too much pigment all at once. You can add depth by glazing a slightly darker colour over a dry layer, or by using more water for lighter tones and less water for richer, shadowed areas.
[ Blending ]
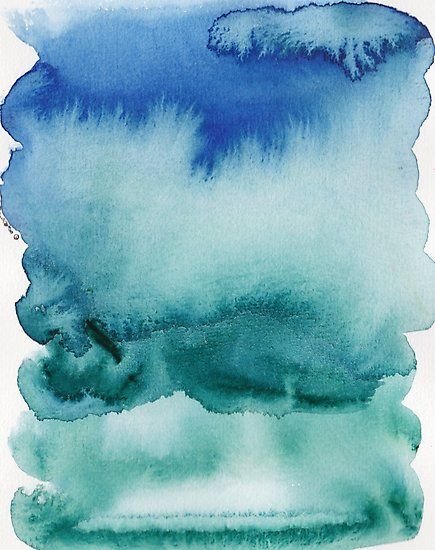
Blending helps colours flow into each other seamlessly so you get soft transitions instead of harsh edges. It is what makes watercolour feel fluid and dreamy.
Try this: While the paint is still wet, let two colours touch on the page and watch them merge naturally. Use a clean, damp brush to gently soften the edges where they meet, guiding the blend without overworking it. If an area has already dried, re-wet the edge lightly with water before adding the second colour. The key is to work in smaller sections so the paint stays workable and you have more control.
[wet-on-wet ]
Wet-on-wet is one of the most magical watercolour techniques. By adding paint to a wet surface, colours spread, soften and flow into each other, creating organic, dreamy effects that you could never plan.
Try this: Lightly wet the area of paper with clean water before adding your colour. Then drop in paint and watch it bloom and move across the damp surface. You can layer in other colours while it’s still wet and let them naturally blend together. The key is to embrace the unpredictability and let the water do the work.
[dry brush ]
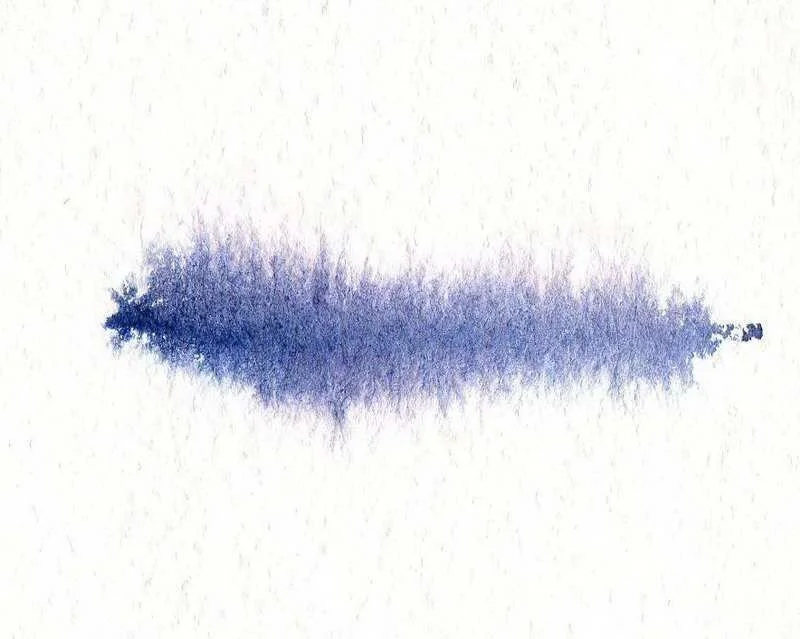
Dry brush is all about texture. By using very little water on your brush, the bristles skip across the surface of the paper, leaving scratchy, broken marks that add character and detail. It is perfect for things like wood, grass, fur or any area where you want a more textured, natural effect.
Try this: Load your brush with pigment but dab most of the water off on a tissue or cloth. Then drag the brush lightly over dry paper. Adjust the pressure to control how much of the paper shows through. Keep it loose and imperfect — that is where the magic of dry brush lives.
[LIFTING ]
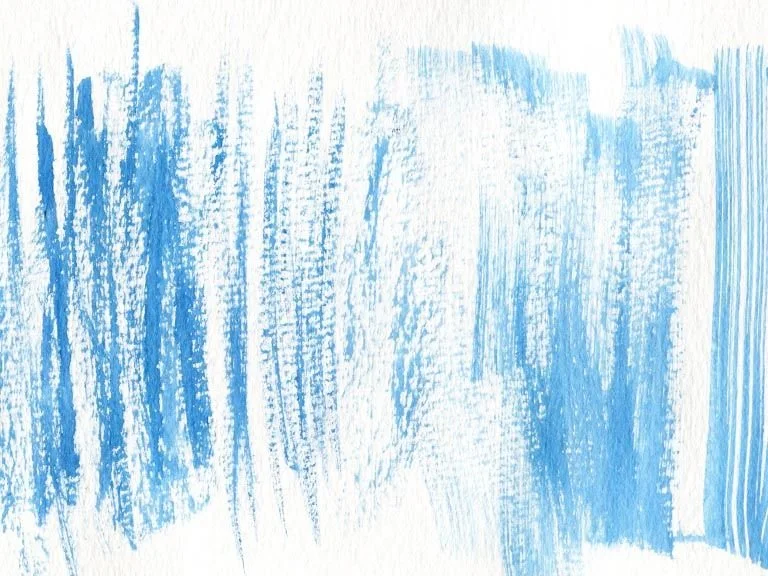
Lifting is a simple way to bring light back into your painting. By removing pigment after it has been applied, you can create highlights, soften areas, or fix little mistakes. It is especially useful if a section feels too dark or heavy.
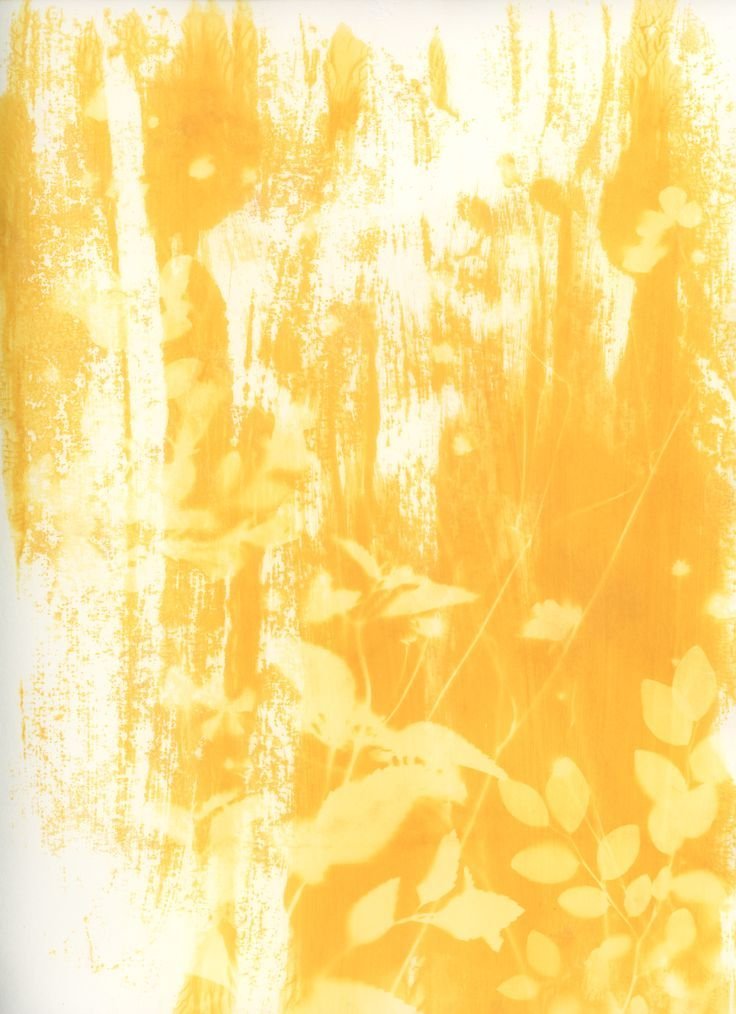
Try this: While the paint is still damp, gently blot with a tissue or sponge to lift colour and reveal lighter patches. For dry areas, use a clean, damp brush to scrub softly and then dab away the pigment. The more pressure you apply, the more colour you will lift. BE careful not to overwork the paper.